
Today we will make our “First 3D Game” in Unity 
To be more precise and familiarize yourself with the terms used in the world of video game development, in this tutorial we’ll create a “Third Person Character Controller” using the tools offered by the Unity 3D game engine.
Unity Tutorial Level: Beginner.
1.1 Creating a New Project.
Let’s create a new project in Unity version 6:
- Run Unity Hub on our computer.
- On the home screen we click on the “New project” button.
- Then select the “Universal 3D” option.
- In the “Project name” field we will write the name we like best for our project, we recommend “3D_FirstGame”.
- In the “Location” field we will select where we want our project to be saved on our computer.
- We click on “Create project”.


1.2 The Preparations.
As a good practice, let’s create the folders that will contain the files for our project in Unity.
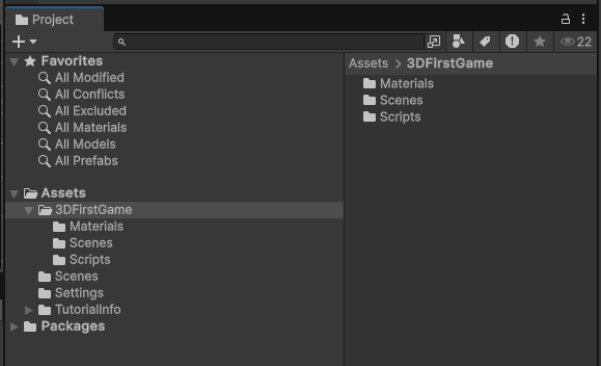
Within the “Project” tab and within the “Assets” folder, we will create the “3DFirstGame” folder (right-click on “Assets” and select “Create” and then “Folder”). Then, following the same steps, within “3DFirstGame” we will create the “Materials“, “Scripts” and “Scenes” folders, which will look something like this::
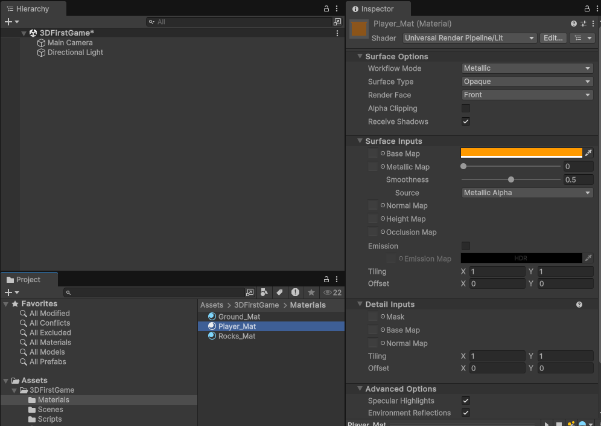
Now, inside the “Materials” folder, we’ll create the material files that will help us assign different colors to our game objects. We’ll do this by right-clicking on the “Materials” folder, selecting “Create” and then “Material“. We’ll do this three times to create the three material files: “Ground_Mat“, “Rocks_Mat“, and “Player_Mat“, and we’ll assign the colors green, brown, and orange to each one, respectively.
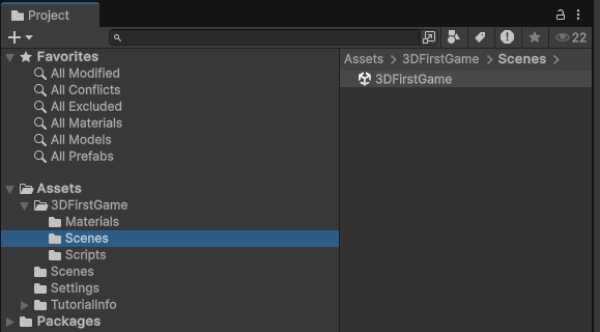
As a next step, we’ll create the game scene we’ll be working on. To do this, right-click on our newly created “Scenes” folder and select “Create“, “Scene“, and then “Scene” again. We’ll name the generated file “3DFirstGame“.
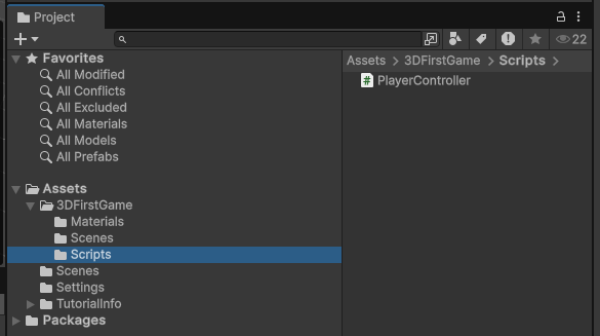
In our “Scripts” folder we are going to create the “PlayerController” code file (by right-clicking on the “Scripts” folder, then “Create“, “Scripting” and finally “MonoBehaviour Script“).
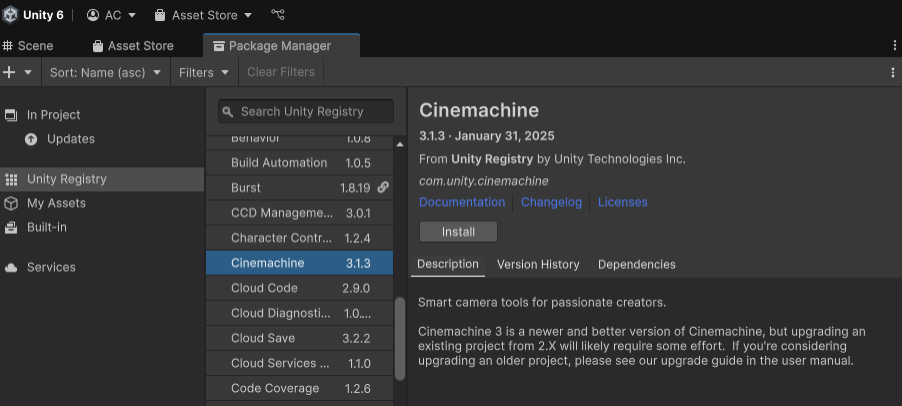
Finally, let’s add the “Cinemachine” asset package to our project. We’ll do this by clicking the “Package Manager” tab, selecting “Unity Registry“, then “Cinemachine“, and finally clicking “Install“.
1.3 Let’s get to work!
Let’s start by opening our “3DFirstGame” scene to work on.
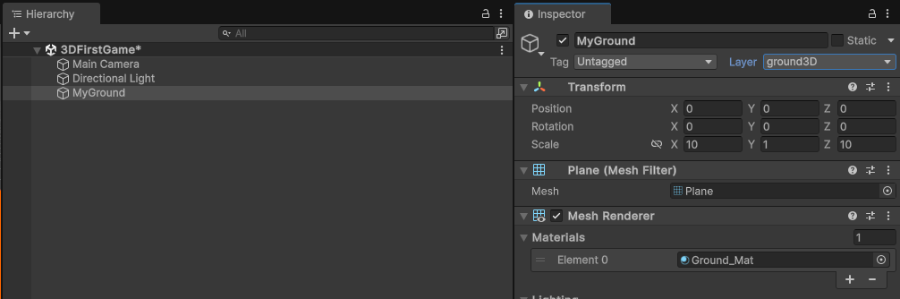
First, let’s create a large plane that will serve as the ground for our character to walk on. Within “Hierarchy“, we’ll create the 3D object “Plane” (right-click on an empty space within “Hierarchy“, select “3D Object“, then “Plane“) and name it “MyGround“.
We are going to assign the material “Ground_Mat” to the “MyGround” object, we are also going to assign it a scale value of “10” on the “X and Z” axes and finally we are going to assign it the “ground3D” layer in the “Layer” section (first you will have to click on “Add Layer” to add “ground3D” in the empty space “User Layer 6“).
To create our character, we’ll first add another 3D object to the scene. This object will be a capsule, which we’ll call “Player” (right-click on an empty space within “Hierarchy“, select “3D Object“, then “Capsule“). We’ll assign the “Player_Mat” material to this object, assign it the “Player” tag, and place the object at position “1.5” on the “Y” axis.

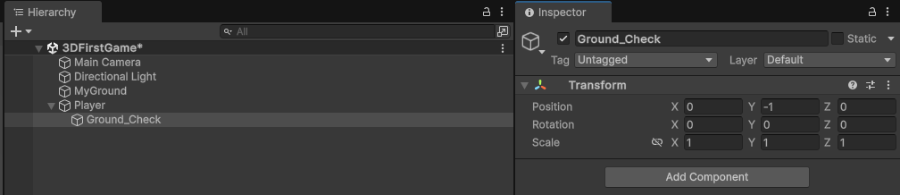
Continuing with our character, we right click on it, select “Create Empty” and call it “Ground_Check“, with this a new object will be added that will help us detect when our character is touching the ground, so we will place it close to the bottom of our character (in position “-1” on the “Y” axis).
We are going to assign two components to our “Player” object, one of them is “Character Controller” and the other is our “PlayerController” code file.
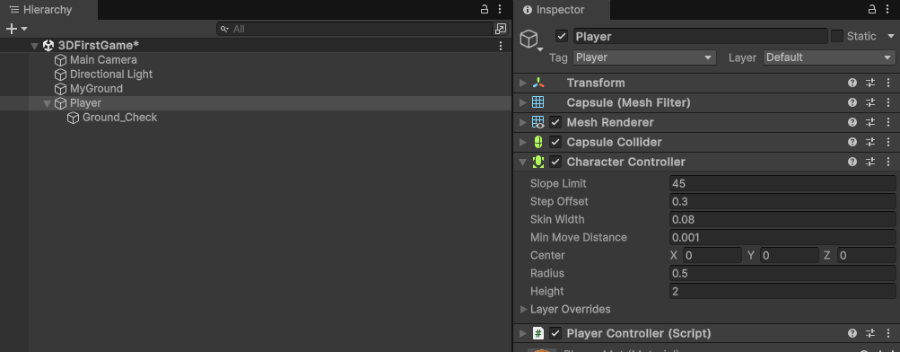
The “Character Controller” component is a Unity component that will help us facilitate the process of making our character move and is very useful when making a basic 3D character game.


1.5 The Camera and the Obstacles.
To be a third-person controller, we need a camera that shows our character in “Third Person“,that allows us to see him and follow him as we move him.
For this we are going to use the “Cinemachine” version 3 components available in Unity 6.
First, we will add the “Cinemachine Brain” component to the “Main Camera” object of our scene.

Next, within “Hierarchy“, we’ll create a Cinemachine camera that can focus on and track our character. To do this, right-click on an empty space within “Hierarchy” and select “Cinemachine“, “Targeted Cameras“, and then “FreeLook Camera“. In this newly created object, we search for the “Cinemachine Camera” component and assign our “Player” object to it in the “Tracking Target” section.

This camera we just created is the missing reference in our “PlayerController” code, so we’ll assign it to complete it.

Finally, let’s create some obstacles for our character. To do this, we’ll add some “Cube“-type 3D objects to which we’ll assign the “Rocks_Mat” material and the “ground3D” layer. It’s recommended to generate them in different sizes so our character can jump over them or lean on one to reach a larger one.
Now, the moment has arrived, press Play and Enjoy Your First 3D Game !
Exercises.
To reinforce what you have learned, it is necessary to practice it, so try doing the following exercises:
- Modify values in the “Player Controller” component to make your character move faster, jump higher, and fall faster.
- Modify values in the “Cinemachine Orbital Follow” and “Cinemachine Rotation Composer” components found in the “FreeLook Camera” object to experiment with different approaches to your third-person camera.
This Unity Tutorial ends here. Join us for the next tutorial where we’ll add more features to “Your First 3D Game“.
Next Unity Tutorial: “2. Overcharging the Game“

This Tutorial was useful to you?
¡¡Remember, Ads Help Us Maintain this “Great Site”  !!
!!